
Homepage > Blogs > Single Post
Proper wall preparation remains the absolute cornerstone of any successful painting project regardless of space size. Homeowners frequently rush directly into applying color without realizing that surface preparation dictates final appearance and longevity. Skipping critical preparation steps leads to peeling paint, visible uneven textures, and costly future repairs. Taking adequate time to clean, sand, and smooth your surfaces guarantees seamless application and professional results. Professional painters always emphasize that surface preparation represents at least seventy percent of total project labor. Investing quality effort into initial preparation saves considerable money, stress, and unnecessary rework later on. Walls accumulate dust, oils, and hidden contaminants over time that prevent new paint from adhering correctly. Inspecting every square inch allows you to detect structural issues or moisture problems before applying fresh coats. Establishing a disciplined routine before opening any paint can ensures beautiful finishes that withstand daily wear.
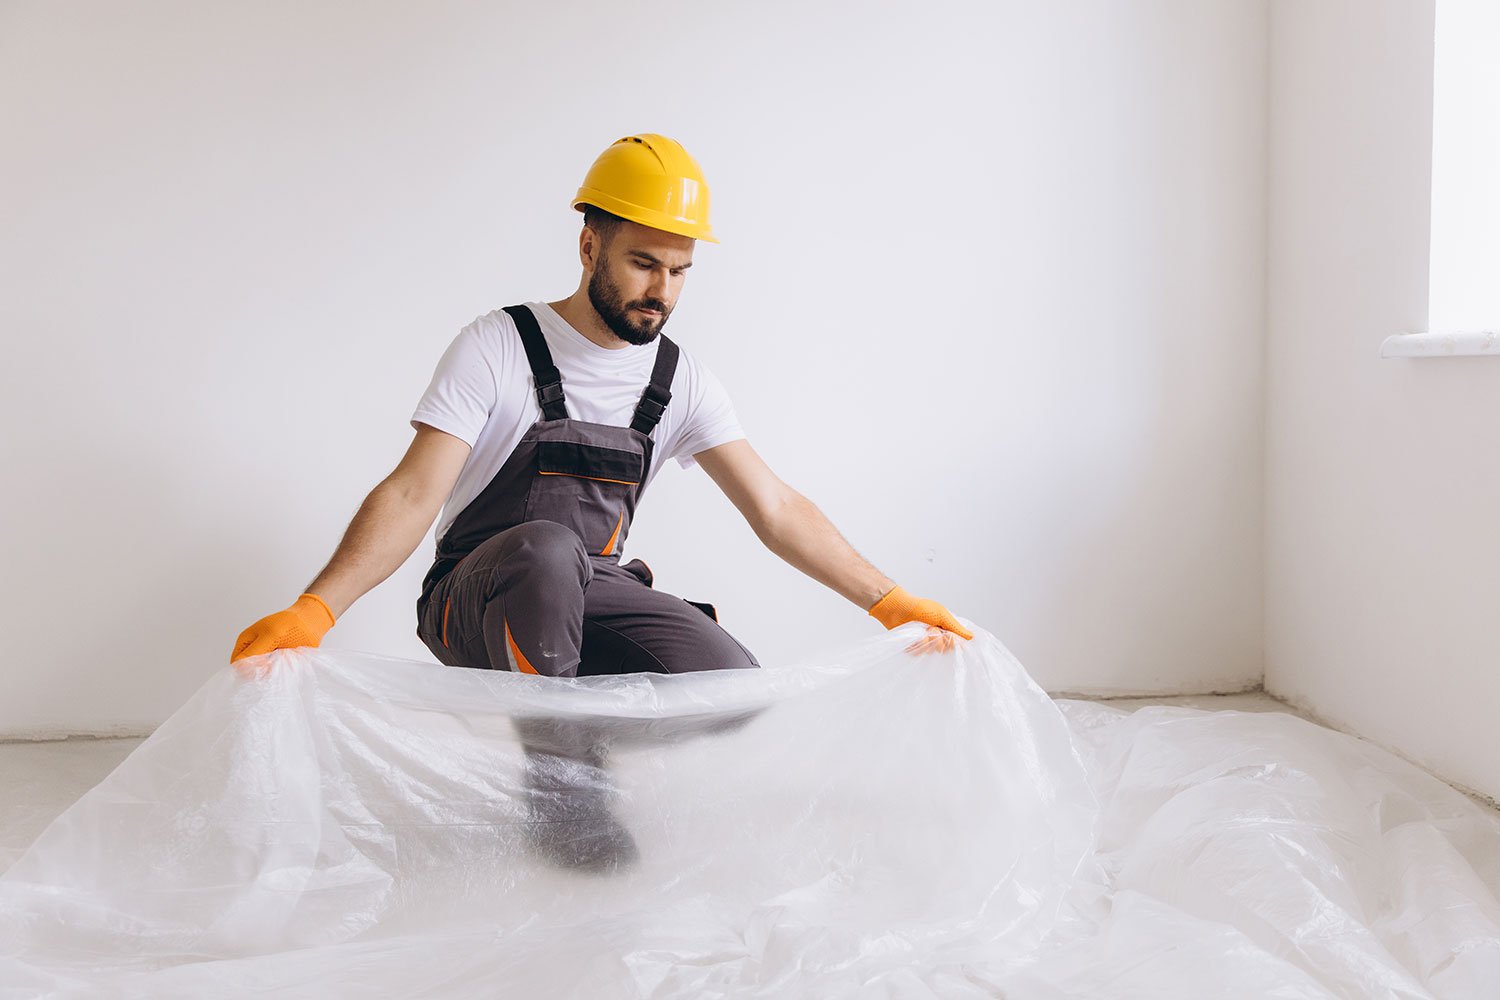
Beginning your preparation process requires thoroughly clearing the room and protecting all non-paintable surfaces with durable drop cloths. Removing switch plates, outlet covers, and wall fixtures prevents accidental paint splatters and ensures clean boundary lines. Washing the walls with a mild detergent solution effectively removes stubborn grease, dirt, and lingering handprints. Allowing the washed surfaces to dry completely is essential because trapped moisture causes bubbling beneath fresh paint films. Inspecting surfaces under bright lighting helps identify small dents, hairline cracks, or persistent nail holes needing repair. Filling these imperfections with high-quality spackling compound ensures a smooth canvas for your upcoming paint application. Overfilling damaged spots slightly accounts for compound shrinkage as the material cures and hardens completely overnight. Sanding repaired areas level with surrounding drywall creates an invisible transition that looks seamless after painting. Wiping away fine sanding dust with a damp microfiber cloth prevents gritty textures under paint coats. Taking these methodical steps creates an ideal foundation for long-lasting paint adhesion across all surfaces.
Selecting the correct primer is another vital step that bridges surface preparation and final paint application. Priming seals repaired drywall compounds, prevents stain bleed-through, and establishes uniform porosity across entire wall surfaces. Unprimed drywall absorbs paint unevenly, resulting in patchy sheen levels and inconsistent color depth across the room. Applying a quality stain-blocking primer isolates previous water marks, ink stains, or smoke residue permanently. Tinting your primer slightly toward your final topcoat color provides better coverage and reduces required paint coats. Proper priming ensures that the true color vibrance of your chosen paint shines without underlying distractions. Skipping primer often results in poor paint bonding and potential peeling during humid seasonal changes. Specialized primers also exist for difficult surfaces like glossy trim, masonry, or previously stained woodwork. Applying primer evenly with a roller establishes a uniform base that maximizes topcoat durability and smooth texture. Allowing primer to cure according to manufacturer instructions guarantees optimal performance for your final paint layers.
Your trusted specialists for top-tier interior painting, exterior coatings, and complete residential renovations.
Monday – Friday:
09:00 AM – 05:00 PM
Saturday:
09:00 AM – 05:00 PM
Sunday:
Closed
info@yourdomain.com
Address
742 Evergreen Terrace, Suite 102, Austin, TX 78701
Copyright © 2026 Widagdos. All Rights Reserved.